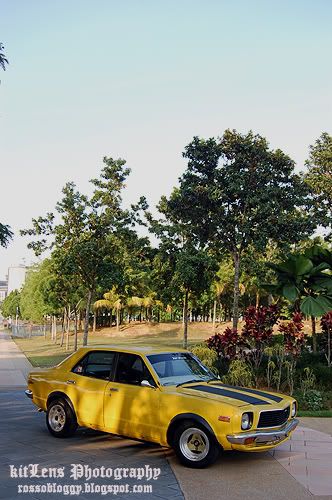
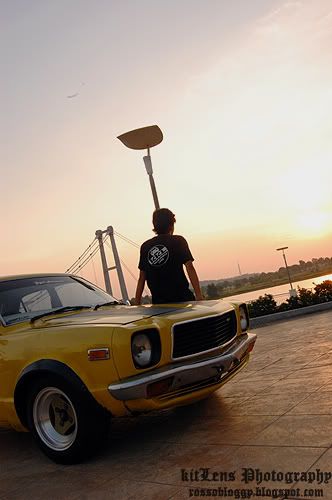
Gosh, I was super busy till I totally forgotten bout my blog. With the super stupid P1 Wimax that disconnected every 5 minutes, how da hell I wanna update!? Plus with my tight class schedule, that make it worse. Man, I need a day to rest. It was suppose to be today, a day free from my Bee.
And I had decided not to take the 3T and the Libero axle. The owner want the T50 gearbox that come along with the engine, so it will be more trouble for me to source one soon. And the Libero? Too much stuffs need to be made first before it can be plugged in. Solution?
I bought Wad's 808 spare axle. Gosh, this particular axle is so rare that I need to have a spare axle if Im going to lock the other one.
The extra leaf. I wish I can fit all of em in my car to stiffen it.
And the reason I bought it? It came with a custom made lowering block and a longer U bolt to hold the leaf.
Mr Jaguh came to help. I really appreciate it. Thanks bro. Still not recover from the accident, and yet he came to help me.
And my brother suddenly wanna help around. So I asked him to loosen up the bolt. Until..
Bam! The leaf stressed out, and my brother's finger was stuck between the leaf and the jack, so I rushed to the clinic. The doctor said maybe his finger was already dislocated, so X Ray needed.
X Ray time. Luckily the doctor is very friendly dude, and so thus the nurse. Hehehe.
The nurse cleaning up the deep cut. Quite hot eh?
And, thanks to Jaguh, the block was fitted by the evening while I was at the clinic.
Done! Right side only.. Left side? Next time~
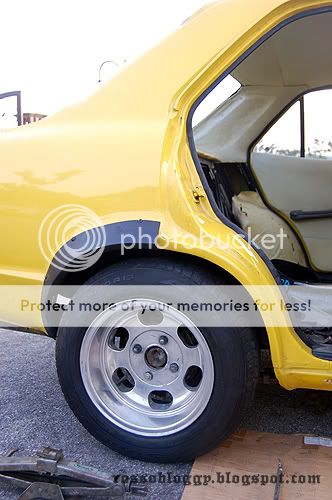
And if everything goes as I plan, my Bee will be send to Ipoh next week for a major job. I really cant wait for the day!
The workshop's plans are:
*Overhaul
*Port & polish
*Up the capacity till 1.6l (Did I said it correctly?)
*Camber & caster
*Weld the axle
And, I hope my budget is enough. Around RM 2k plus. And a full bodywork in Ipoh too maybe if the budget is sufficient. Anyone wanna sponsor me? Hehehe.
Saturday, July 25, 2009
Friday, July 17, 2009
DIY : New Bearing.
Since the weekend is coming, I have set a few plan for Bee. The old bearing had been making a lot of noise lately. So, it needs a replacement, and so thus the naked bodypart need to be covered back with the damaged fender.

I returned home after I finished my class and called Jaguh to come. And since Jaguh is handicapped (LOL!), he was only instructing me and help a lil bit. Talking bout doing it myself make me proud. Har har har. At least I learned about a few stuffs today. What's the point of having a toy car if you didnt try to fix it yourself?
So, lets remove the tyre first.
Remove the inner bolt and the hub.
And its time to remove the bearing. I thought there was only one bearing, and turn out there was 2 of em. Both need to be replace.
We went to the spare part shop and get the new bearings. And I bought a new third brake lamp too.
After everything had been assembled back, Jaguh was doing the wiring and me?
I was painting the inner fender area with antirust paint.
And assembling back the fender. Unfortunately, it does not fit well and you can see the gap. Morale of the story, dont roll you fender unless your car spareparts is plenty. As for me? Where can I find a new set of it? Argh.. Anyway, thanks to Jaguh Autoworks for supervising me today.
Labels:
DIY,
fender repair,
Jaguh Autoworks,
wheel bearing
Thursday, July 16, 2009
Random : Hybrid 808.
Awesome idea from the Northern retro lover:
Varis (I think) Mitsubishi Ev0 9 bumper.
And you mix it with this wagon.
And the final results? You got yourself one hell of a kind pimp wagon!
Varis (I think) Mitsubishi Ev0 9 bumper.
And you mix it with this wagon.
And the final results? You got yourself one hell of a kind pimp wagon!
Random : LSD/ Full Lock Axle For Bee?
Hmm, Im thinking of buying this particular axle. It is taken from a Mitsubishi Libero. Full lock and the ratio is 3.9. Since it was from a Mazda 808, I'll just need to plug and play it only. The axle is 4inch wider so my Bee will be more wider for rear.
Dunno whether it is a LSD or welding axle. A pro 808 mechanic said that my current axle ratio is 4.1. And Jaguh said that my car cant move very well with 3.9 ratio. Aiyak~ So which one should I listen? Any comment from you guys?
Friday, July 3, 2009
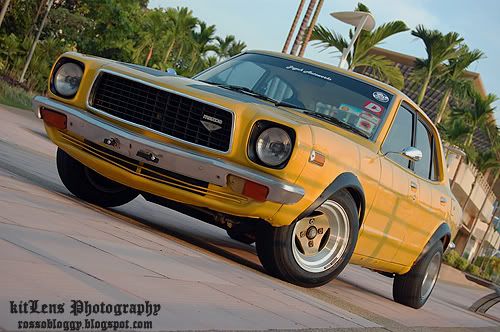
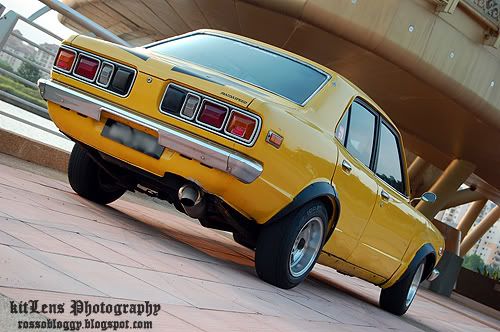
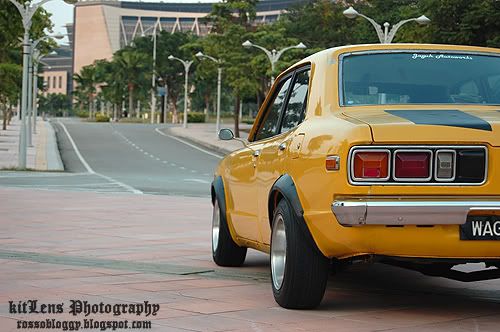
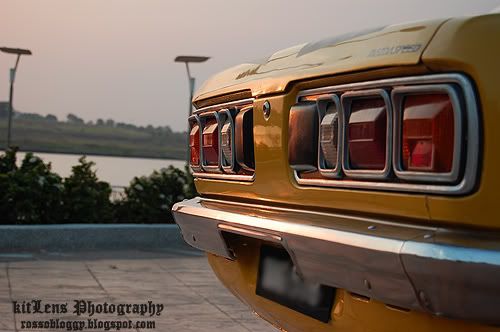
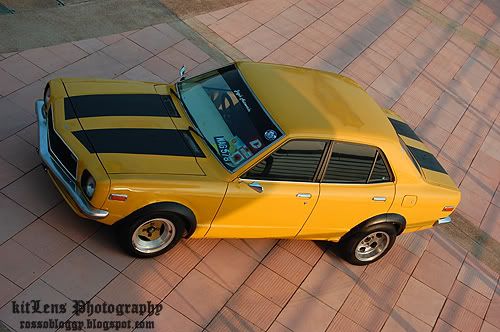
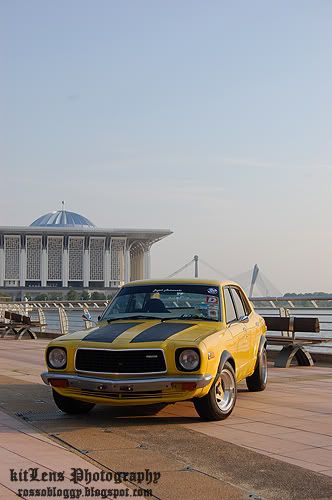
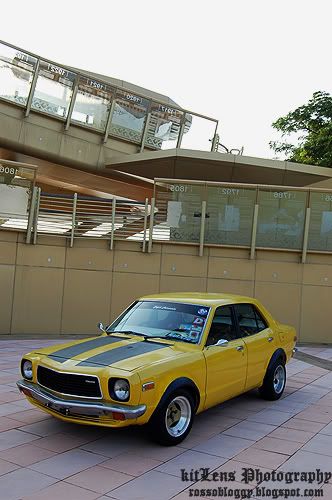
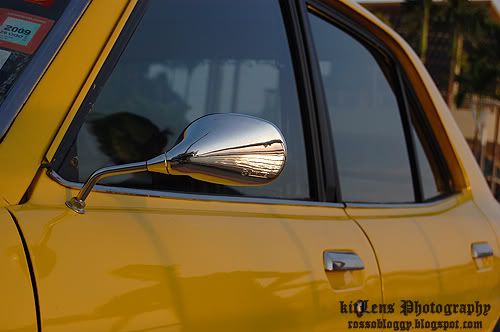
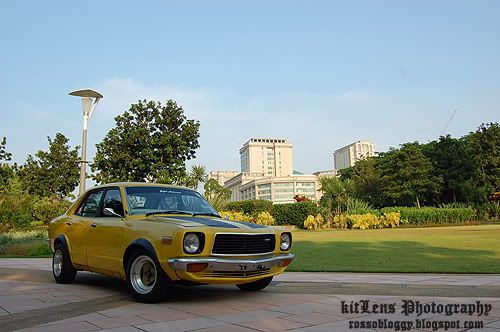
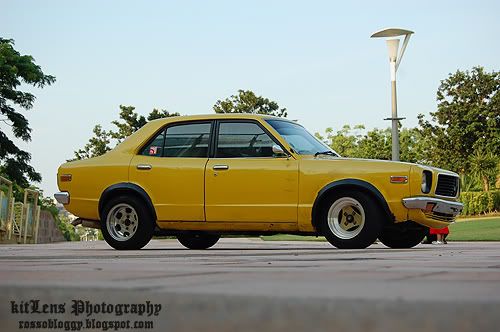
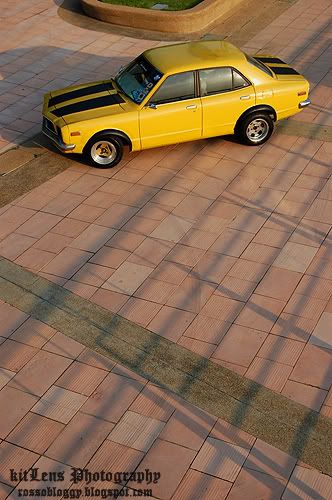
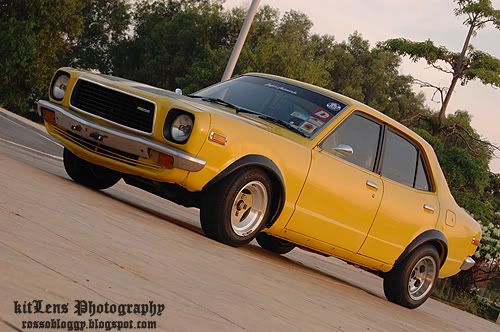
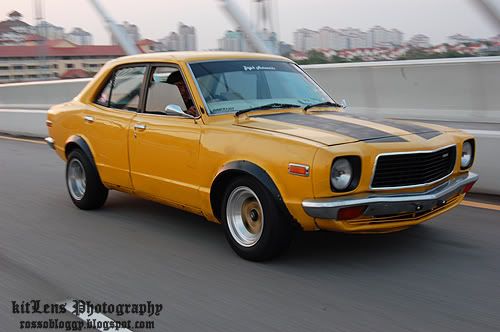
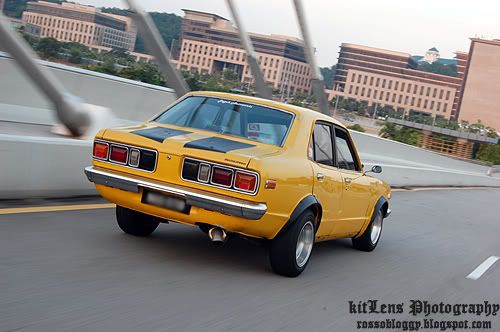
Photography : My Bumble Bee.
Nothing special bout the car except a lot of rust especially at the under carriage and the firewall too. Please ignore the car's condition and more on the photography.
C & Care very most welcome.
Typical magazine shots style.
And this one is more on scenery.
Panning.
And sunset. Model : Jaguh Jambu.
Any comments? Any area should I improve? Etc?
And for those who are interested to do a photo shoot session and interested to be featured on a magazine, please contact me at 012 72 3345 4. We'll arrange a trip if it is outside KL/Selangor trip.
Retro/vintage/olskool monster are the priorities, but other than that also acceptable. The more, the merrier. Coverage for retro events, retro club activity also can be considered.
Thursday, July 2, 2009
DIY : Gauges, finished.
Wednesday, July 1, 2009
DIY : Gauges Part 2.
Latest updates:
I bought an advertising board at a nearby book store and it is much easier to work on this board. And I decided to cover the whole area instead of putting it inside. Talking bout the laziness to measure it again.
Sketching on the board to make sure there is no senget-ness, and other probs. The side is covered with some tape to strengthen the board.
Holes for the gauges, the gauges and more tape on the board. My new RPM meter is from Jasma and it is a bit bigger than the AutoGauge. It comes with a stepper motor, warning light, and opening/closing ceremony which is not so important to me. Most important to me, it that the RPM is working.
Few cut, this and that, and it is done. Add up a sticker to make it more 'cheerful'. Now I have a vacuum meter, RPM, and also a volt meter. Will assemble it tomorrow and a photoshoot session.
Labels:
custom dashboard panel,
DIY,
gauges,
Jasma RPM meter
Subscribe to:
Posts (Atom)